Halation, measured. What the glow does.
Halation is light that passes through the film, reflects off the back of the base and exposes the film a second time from behind. We tested how Halo Pro 2.2 reproduces it with controlled light: test charts holding light from two stops under white to five stops over it, three rendered light scenes, and real photographs. In these tests the glow doubles with every stop above white, as on film, follows the colour of the light the way colour negative film does (red glows, blue does not), grows with the size of the light, starts in the light tones, stays off surfaces that are already bright, and scales with the film format. Around real lights it is a tight core with a soft tail, the shape film's rings fill in to around any light wider than the ring (about 0.23 mm on 35 mm film). Around a true pinpoint film shows a ring that Halo Pro does not draw yet; that and the other differences are listed at the end, and every figure gives the settings it was made with.
1Halation on film
A colour negative is three light-sensitive layers on a clear base about a tenth of a millimetre thick. Blue is recorded on top and a yellow filter stops what is left of it; green and red go deeper. The emulsion absorbs most of the light on the way down, never all of it: a fixed share of every tone leaves it, scattered, into the base. At the back of the base, light that arrives more obliquely than the critical angle (about 42° for a refractive index of 1.5) cannot leave and is reflected back up; nearer straight down only about 4 % reflects, rising steeply toward the critical angle [5, 6]. It re-enters the emulsion from below and meets the red-sensitive layer first, which is why halation is red. Returning orange light exposes some green as well, and where the return is strong, red nears its limit while green keeps rising, so the strongest part of a halo reads orange [1].
Four things follow. Halation is proportional to the light: every tone makes some, but only lights many stops brighter than their surroundings make enough to see. Its colour follows the light: red reaches the base, blue does not. The distance it travels is set by the base: from a single point the light returns from about 0.23 mm out on 35 mm film, sharp-edged inside and fading outward, and around any real light wider than that the rings from all its points overlap into a bright core and a soft tail, so the gap only shows around pinpoints. And film stocks are made to prevent it, with an anti-halation layer or, on motion-picture film, a carbon-black backing called remjet; remove the backing, as CineStill does, and it comes back [3, 4]. The Light path section on the main page draws this step by step.
2Method
Test charts. Lights on black, drawn as 32-bit float TIFF files with sRGB primaries and tone curve and no embedded profile (so the app reads them as sRGB), able to hold light above white. The strip charts are 2400 × 600 px and the single light 1200 × 1200 px; at Format Super 8 a 600 px short side stands for the frame's 4.0 mm, about 7 µm per pixel. The charts hold: an exposure ladder from two stops under white to five stops over it, nine colours at the same peak (two stops over white in their strongest channel), seven sizes from 1 to 64 pixels in radius, a ramp of lights from 3.5 stops under white to white, the same light on black, mid grey and a bright surface, and a single small light for profiles.
Rendered scenes. A wet night street, a wall of neon rings in nine colours, and an interior with a window, candles and a lamp, built from simple shapes and rendered in Blender (Cycles) as linear light, with the brightest lights at roughly 40 to 120 times white. A camera or a scanner would clip most of that; a 32-bit file keeps it.
Processing. Every file was opened in Halo Pro 2.2 beta (Fig. 10 in 2.3 beta) and exported with the app's own Export: halation only, Mist off. The settings are printed under each figure. The charts use Format Super 8, so the glow is wide enough to see at this page's size (at Super 8, Size 1 is as wide as Size 6 on 35 mm, where Smooth wide glow is partly active); the scenes use the 35 mm Default look and a stronger 16 mm look. Controls not printed are at their Default. Warmth on highlights, which warms bright surfaces in the Default look, is set to 0 for the charts so only the glow is measured.
Measurement. The plots compare each export with the chart that went in, in linear light: glow is what the app added. Each light's glow is summed in a ring around it, from 3 px outside its edge to about 100 px out; "share in green" is the green channel's part of that sum. The 16-bit exports clip at white within a few pixels of the brightest lights, so those plots slightly under-count the strongest glows. The brightness plot uses a 32-bit float export, which does not clip the glow at white; the others use 16-bit exports. The numbers behind each plot are in the Data table under it.
Where the Default comes from. The Default's width, strength, colour and start, and its Warmth on highlights, were matched to my own look in an established film-emulation plug-in, measured from its exported pictures, rather than derived from a base thickness. The controls follow the film; the starting point is a look I already used.
3Results
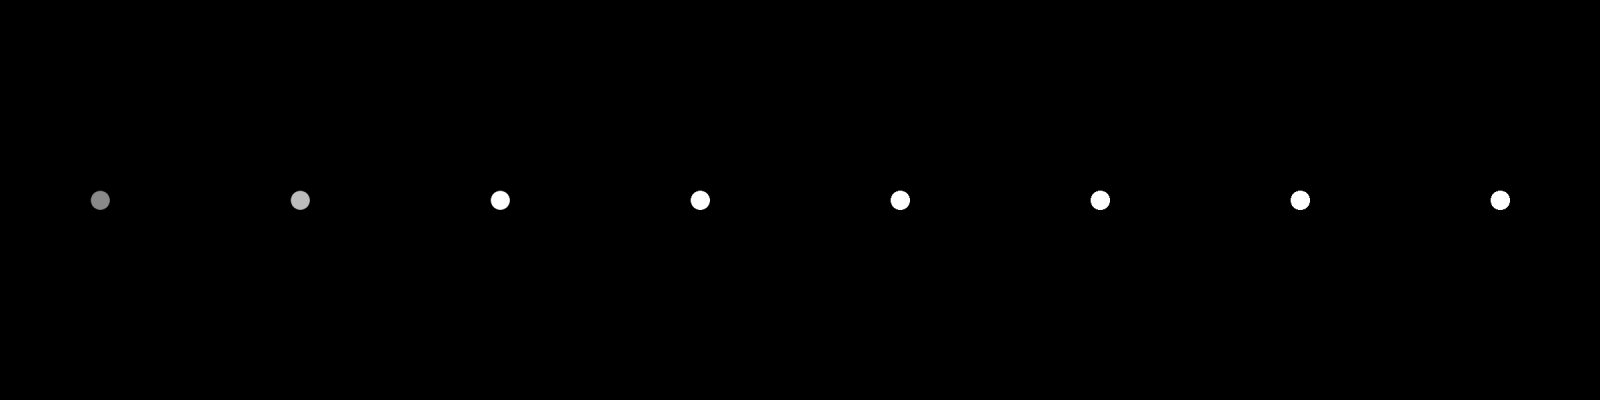
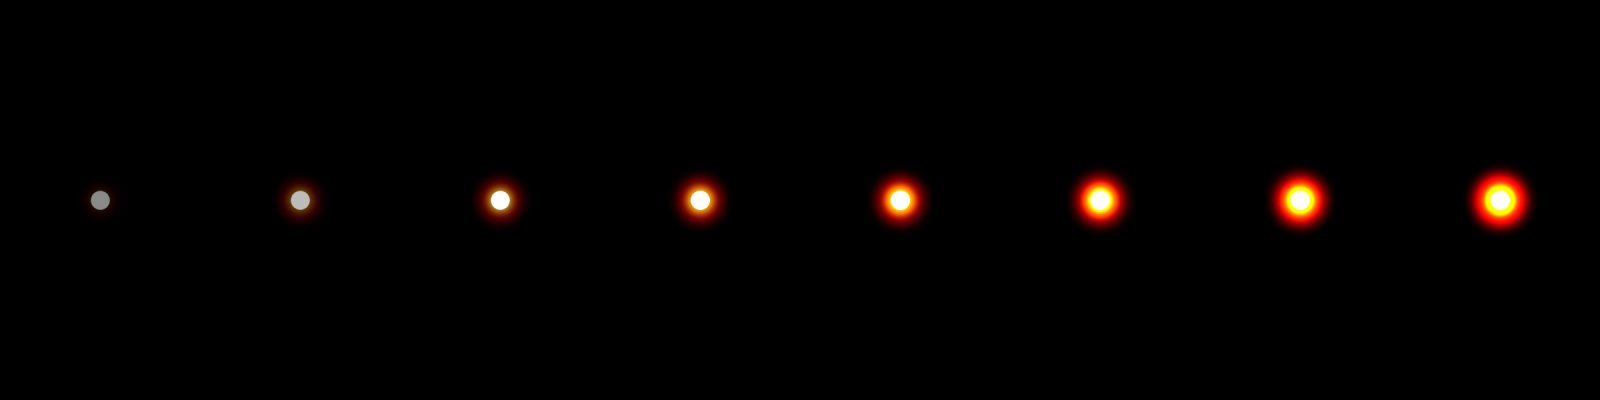
Data
| Stops vs white | -2 | -1 | +0 | +1 | +2 | +3 | +4 | +5 |
|---|---|---|---|---|---|---|---|---|
| Glow (white = 1) | 0.03 | 0.29 | 1.00 | 2.33 | 4.96 | 10.29 | 20.93 | 42.19 |
The glow doubles with every stop. Above white, a normal file shows every light as the same white disc; the glow tells them apart. Almost none at two stops under white (3 % of the glow at white), a little at white, then twice as much for every stop above it: 2.3 times the glow at white at +1 stop, 42 times at +5. Above white each stop adds twice the glow of the last: film's slope, the dashed line. The curve sits a little above it because the glow counts from where Starts at brings it in, and below white it drops away. Seeing this needs a file that keeps the true brightness of its lights (32-bit); an 8- or 16-bit export also clips the brightest part of the glow at white.
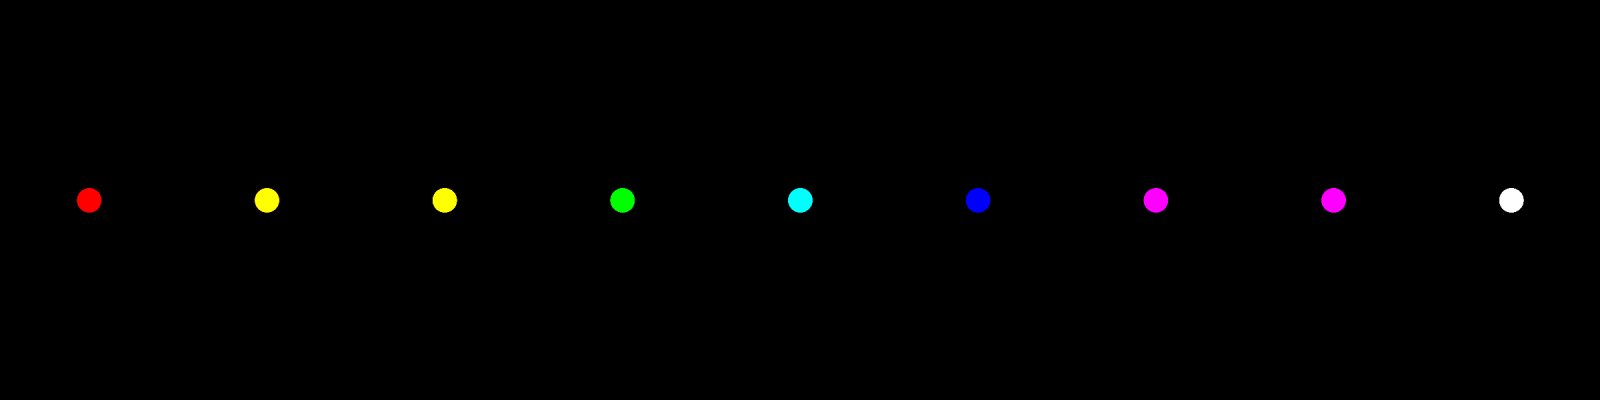
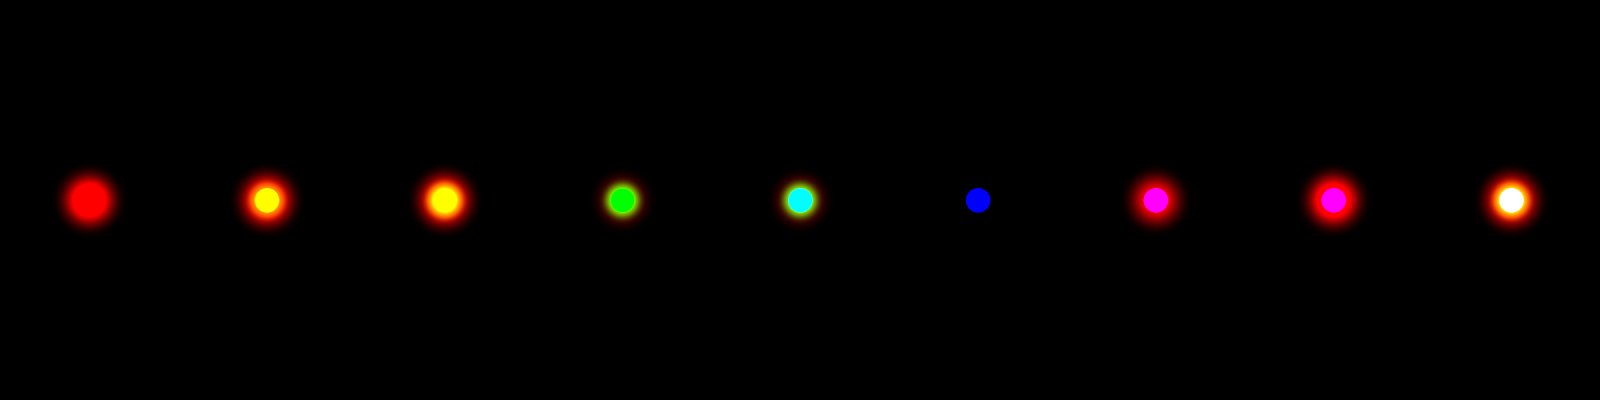
Data
| Light | red | orange | yellow | green | cyan | blue | violet | magenta | white |
|---|---|---|---|---|---|---|---|---|---|
| Glow (white = 100) | 84 | 91 | 100 | 21 | 21 | 0 | 42 | 84 | 100 |
| Share in green | 0% | 5% | 10% | 49% | 50% | 0% | 0% | 0% | 10% |
Red light glows, blue does not. Lights with red in them (red, orange, yellow, magenta, white) glow strongly; those with green in them as well glow a little more, because some green comes back too. Green and cyan glow about a fifth as much, and half of that is green, so their weak glow reads yellow. Violet glows by its red part. Blue makes no glow: on film it is caught on top and stopped by the yellow filter before it reaches the base. (On film, returning green light would make a faint green halo; in Halo Pro part of it comes back red, a look choice set by Green return: Fig. 6.)
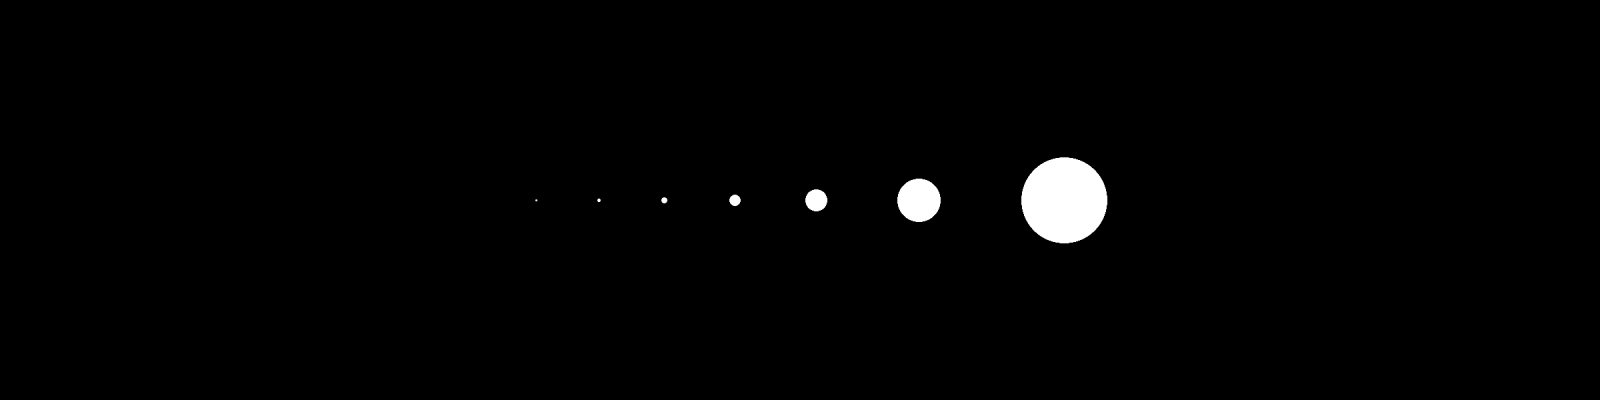
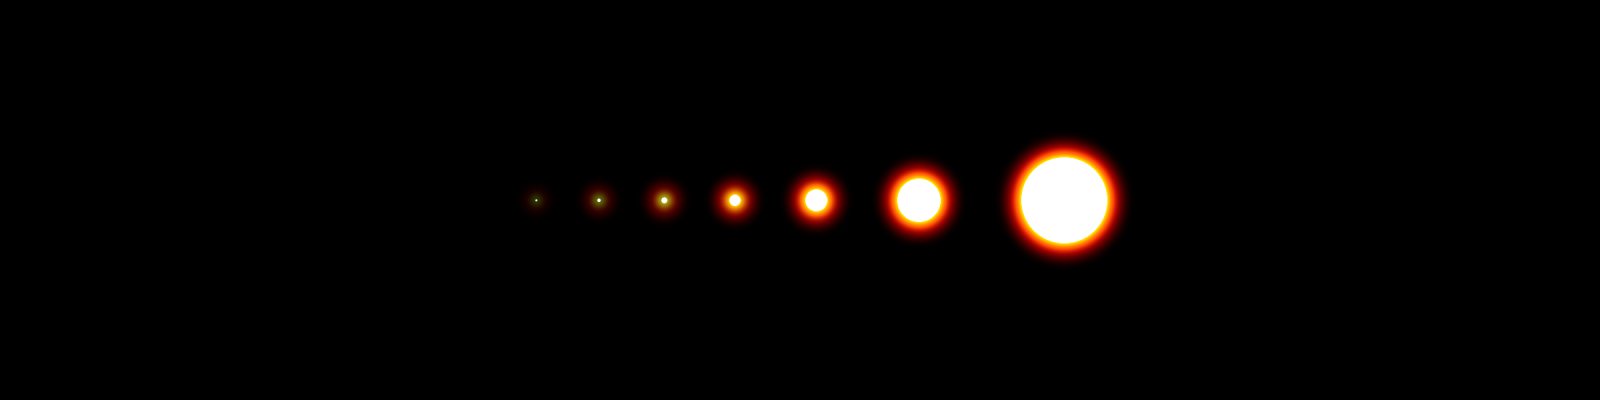
More light, more glow. At the same brightness a bigger light sends more light into the base, so its halo is stronger and reaches further. The smallest lights still get their own glow, in proportion to their area: a distant street lamp should glow less than a window.



Starts at sets where the glow comes in. A file has usually lost the stops above white that set a lamp apart from a white wall, so Halo Pro lets you say where the glow is half on, in stops below white, and Softness of start brings it in gently from lower still rather than as a cut. The Default, 1.9 stops, keeps the glow to light tones; 3.2 stops is about three quarters of a stop under middle grey.
Data
| Distance (px) | 8 | 15 | 30 | 60 | 100 |
|---|---|---|---|---|---|
| Roll-off 0 | 0.422 | 0.363 | 0.182 | 0.012 | 0.000 |
| Roll-off 0.5 | 0.260 | 0.224 | 0.121 | 0.021 | 0.005 |
| Roll-off 1 | 0.130 | 0.107 | 0.062 | 0.018 | 0.006 |
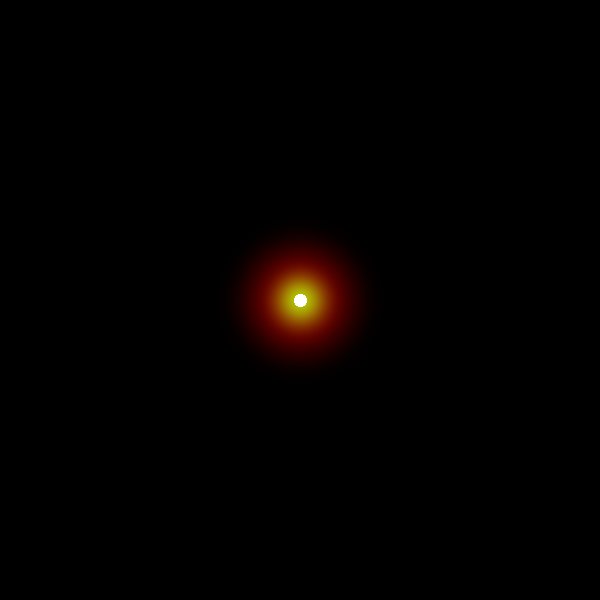
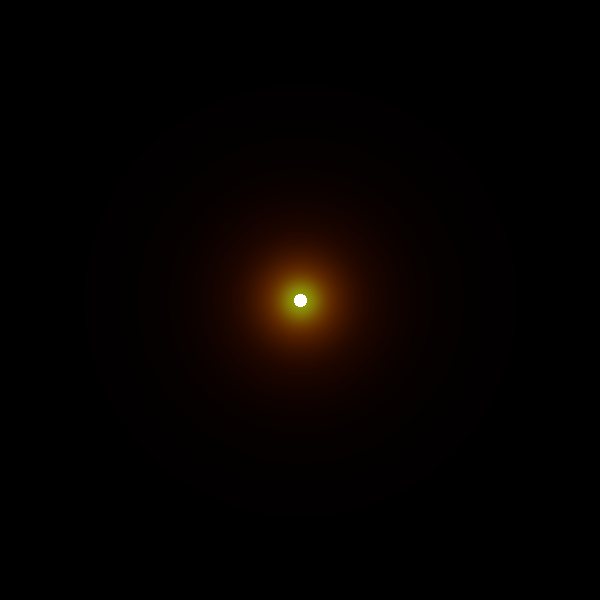
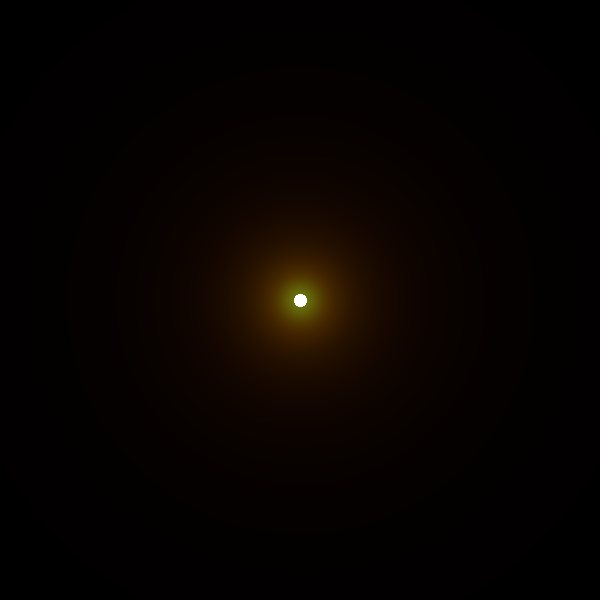
A tight core with a soft tail. Around a small light the glow is strongest right at its edge and falls away smoothly, under 1 % of its peak by about 70 px from the centre at Roll-off 0. Roll-off spreads the same light into a longer tail. The optics in section 1 predict a ring around a pinpoint, darker inside it; around anything wider the rings fill in to this shape, which is what Halo Pro draws everywhere. It does not draw the pinpoint ring yet (see Limits).



How orange the strong glow gets. Green return sets how much green comes back with the red, a look choice. At 0 the glow is red only and green lights make none; at 1, the Default, the hottest cores turn orange; at 2 they lean yellow. On film the hottest cores turn orange because red fills up first.
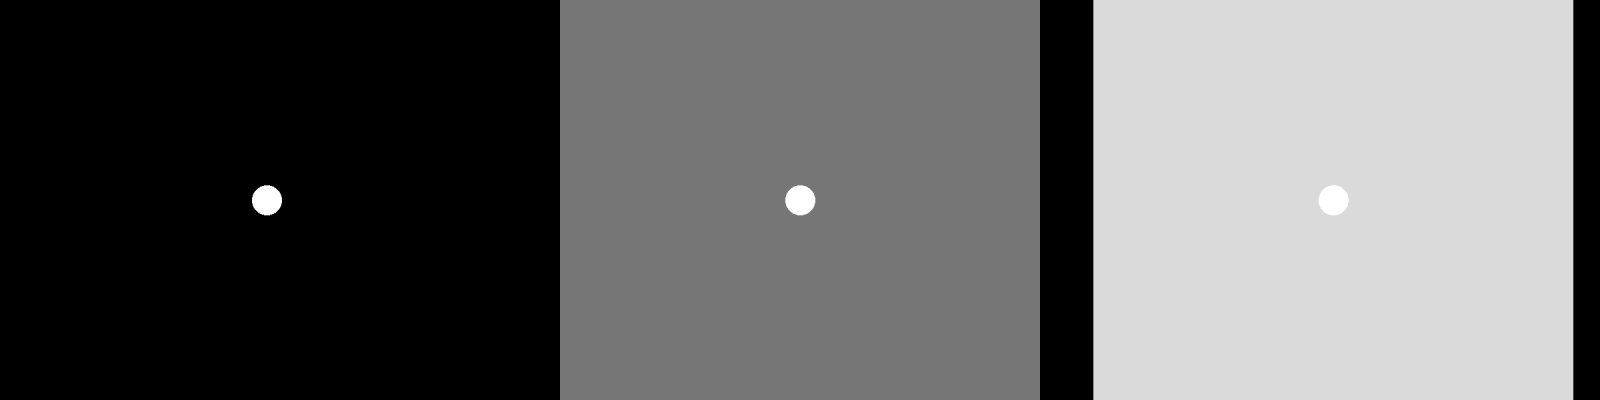
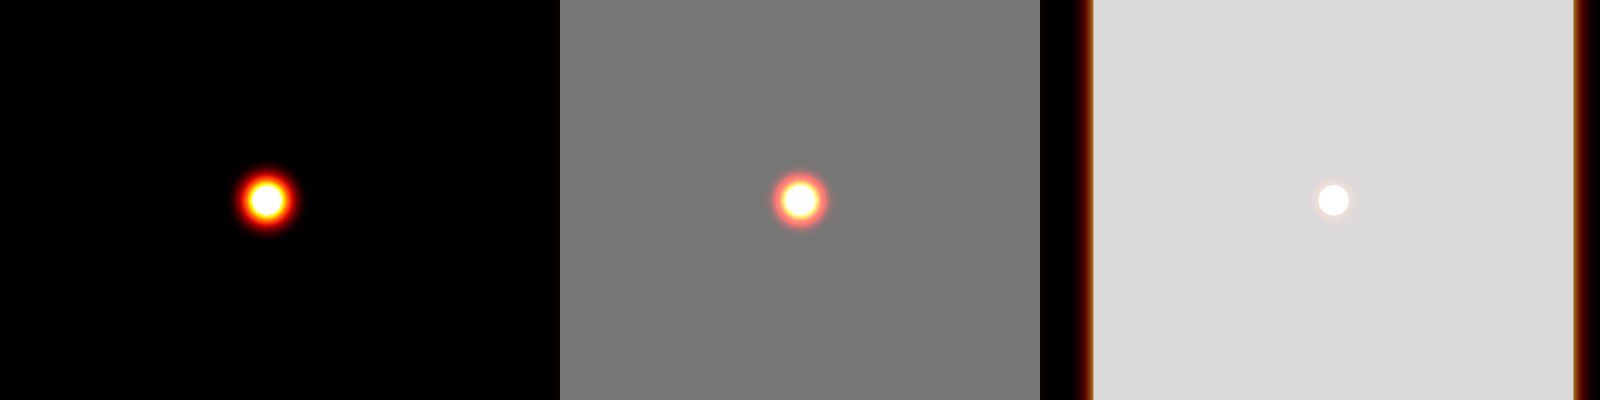
Glow shows against the dark. The same light makes the same glow, but it shows strongly on black, less on mid grey and hardly at all over a bright surface. On film the same added exposure also shows less over a bright area; Halo Pro goes further with Landing, a look choice. Note the red edges where the bright panels meet the black: a bright surface halates too, along its edge. Landing sets how much glow may show over bright areas (Default 0.05).
The halo belongs to the film, not the frame. The same glow, measured against six film sizes (short side in millimetres). On a small frame it covers more of the picture; on 4×5 it nearly disappears. For the same film and backing, a halo covers six times more of a Super 8 frame than of 35 mm, and far less of medium and large format. Format assumes the same base on every size; real bases differ (120 is thinner, sheet film thicker), so real ratios differ somewhat.
4Light scenes
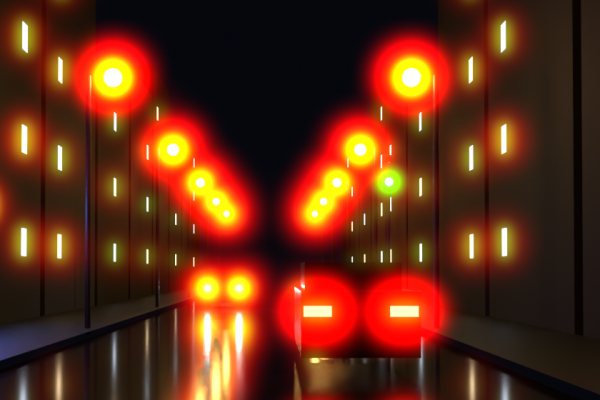
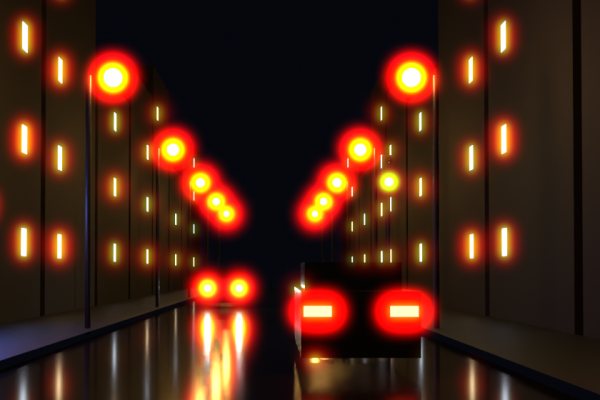
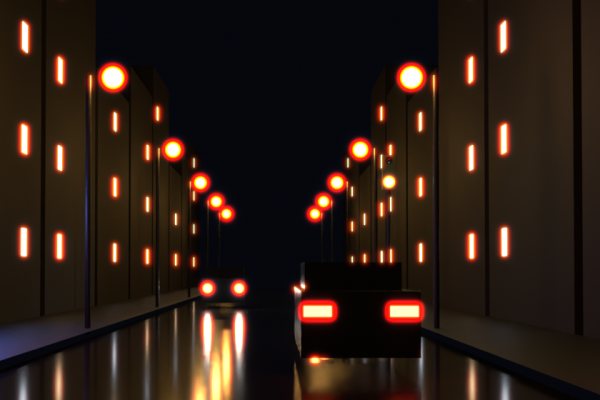
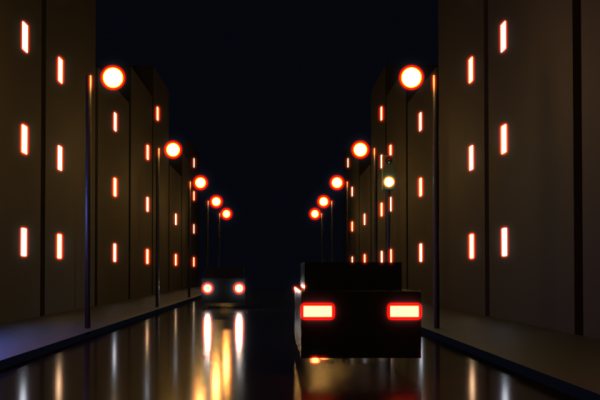
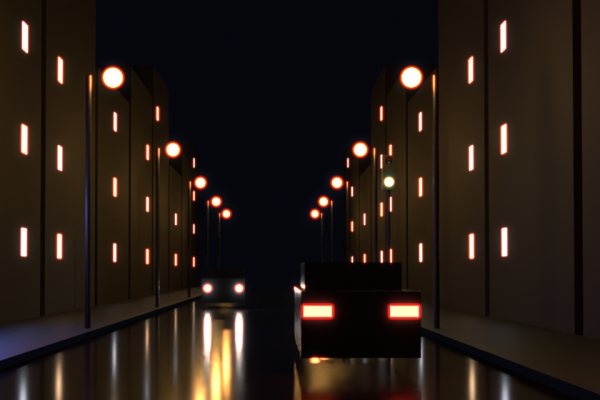
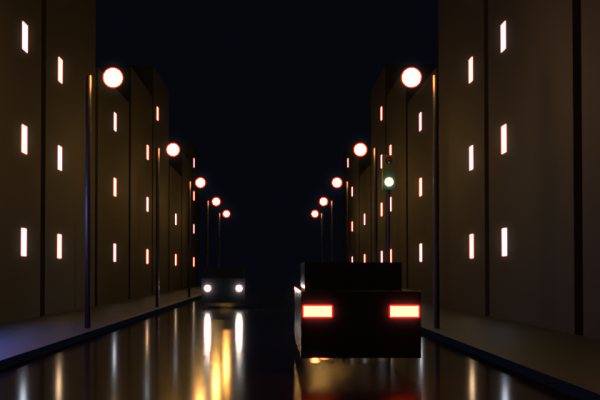
The same behaviour in scenes. Each starts as a rendered image with its lights 40 to 120 times brighter than white, the way a scene is before a camera clips it. Switch between the light as it would be in a normal file and the result from Halo Pro.
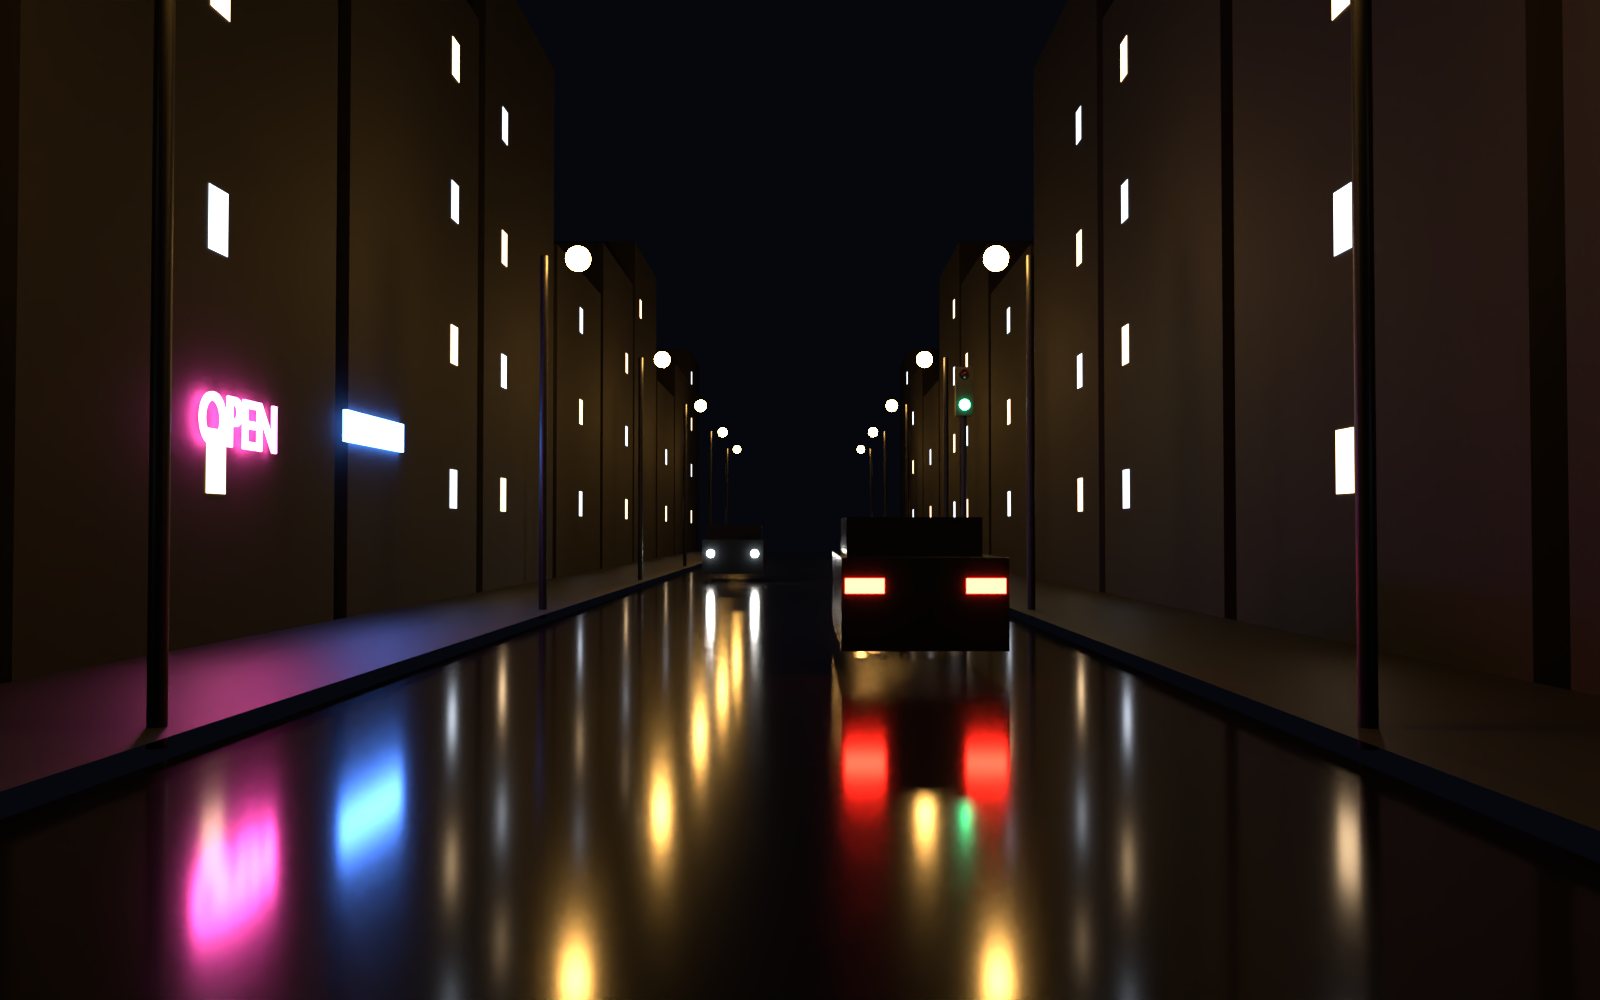
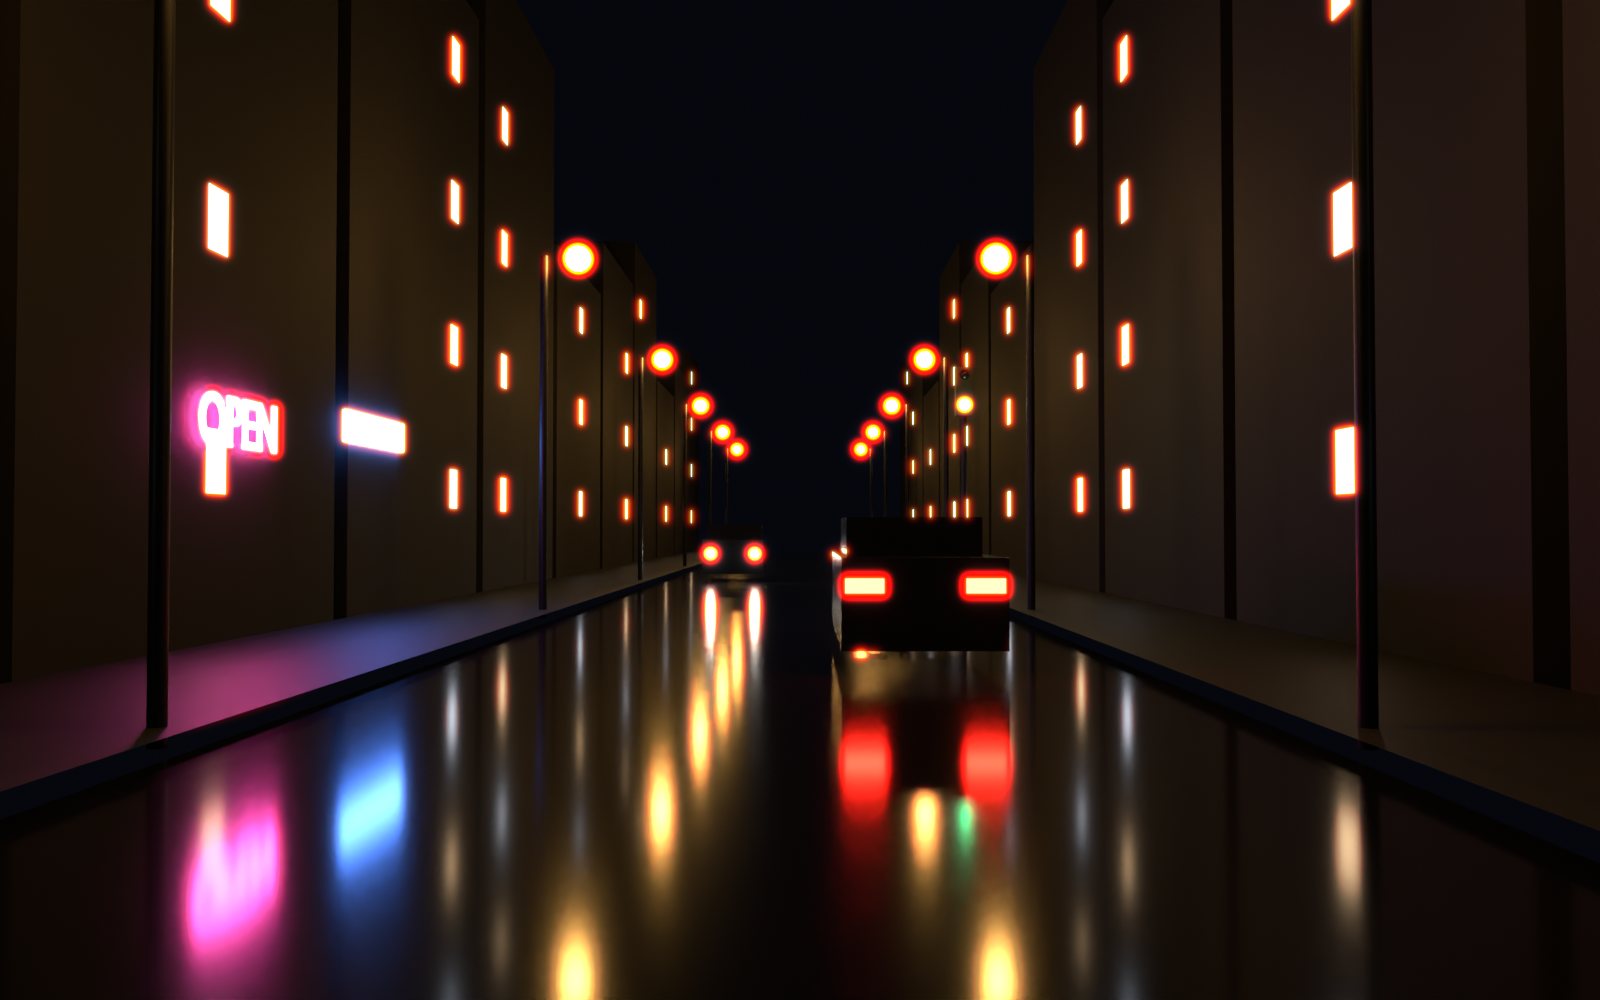
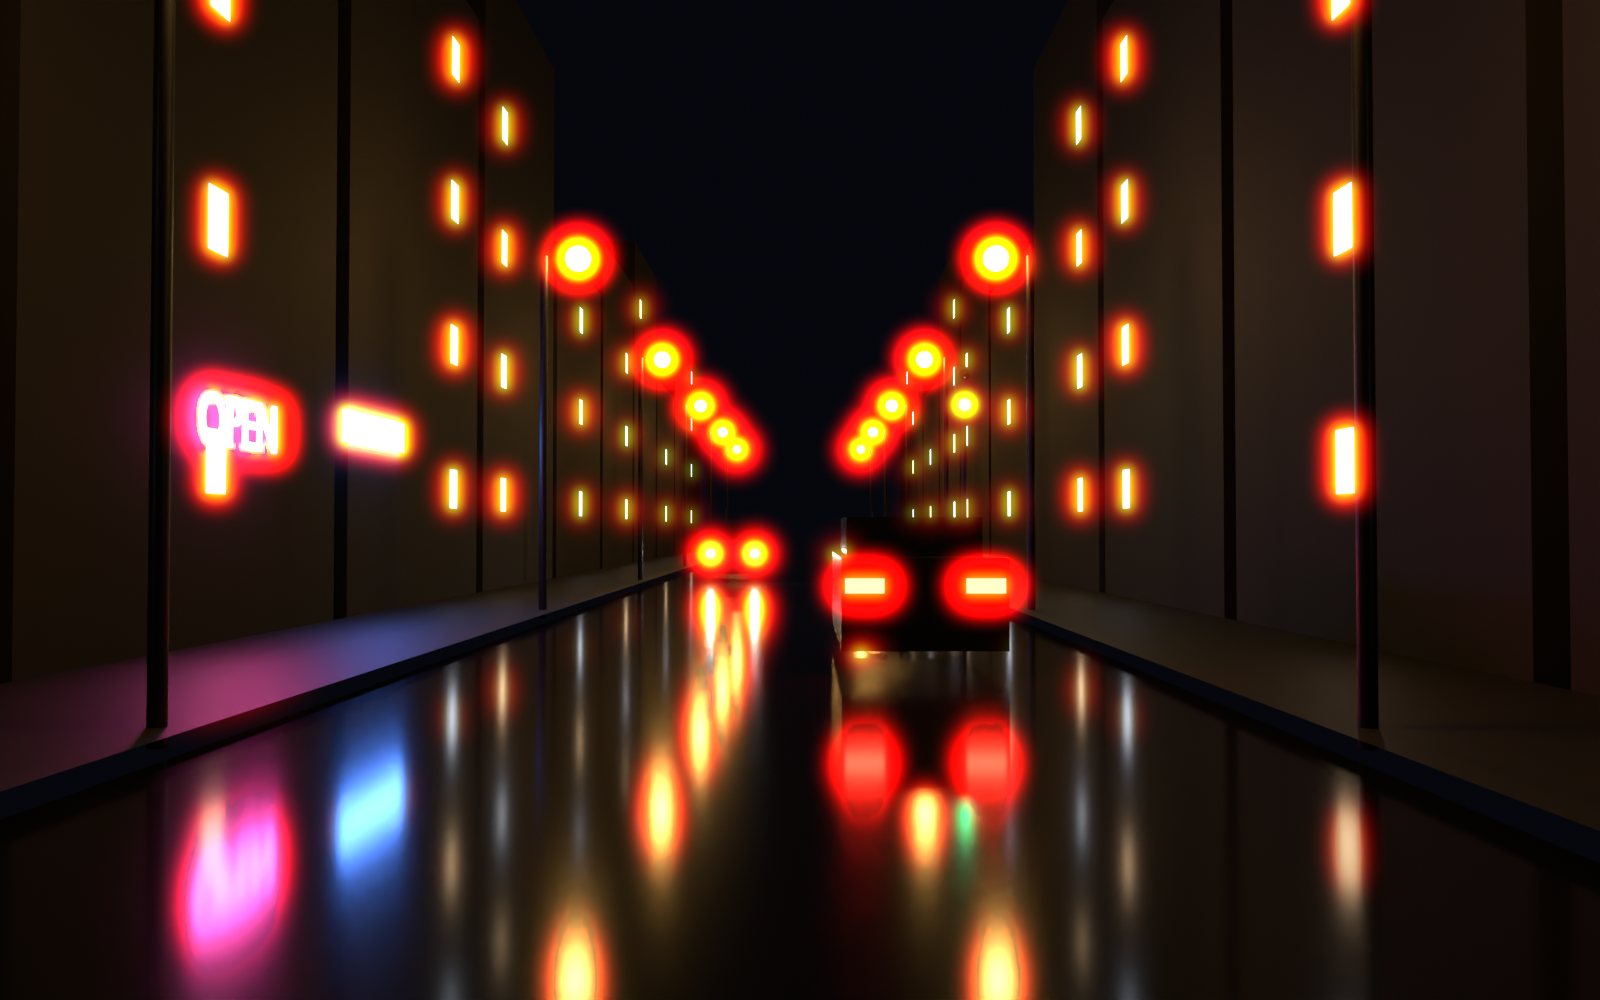
Every light by its colour. Sodium lamps and lit windows glow orange, tail lights red, the pink sign red; the blue sign does not glow and the green traffic light barely. Reflections in the wet road glow like the lights themselves, because to the film they are lights.
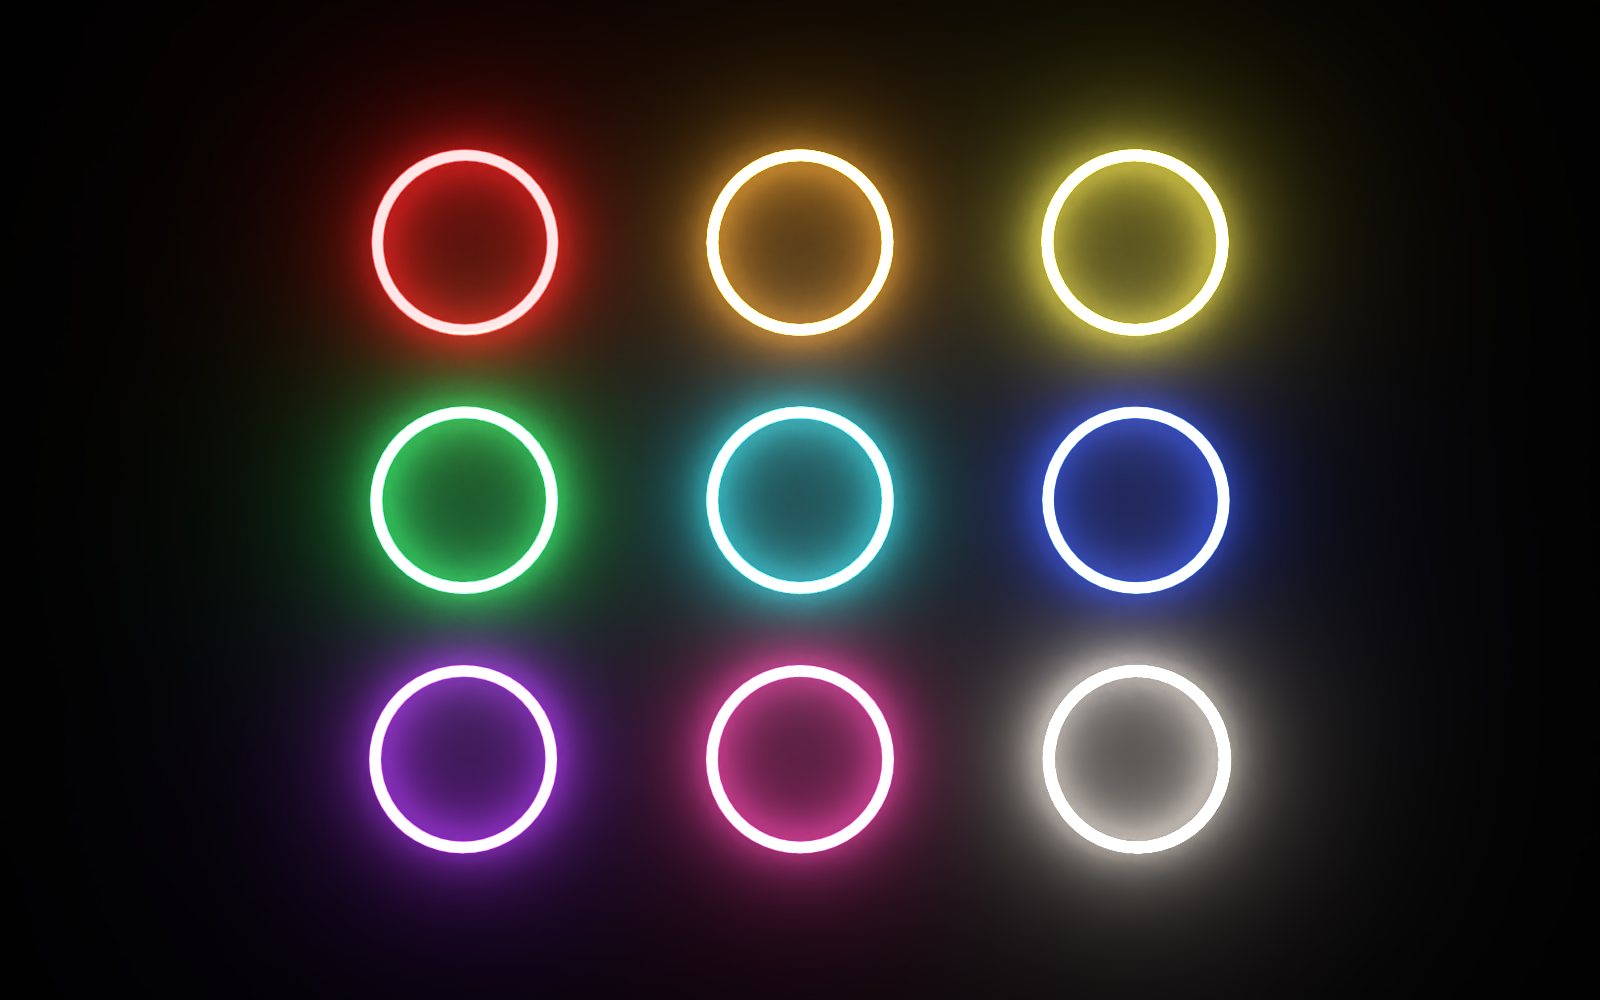
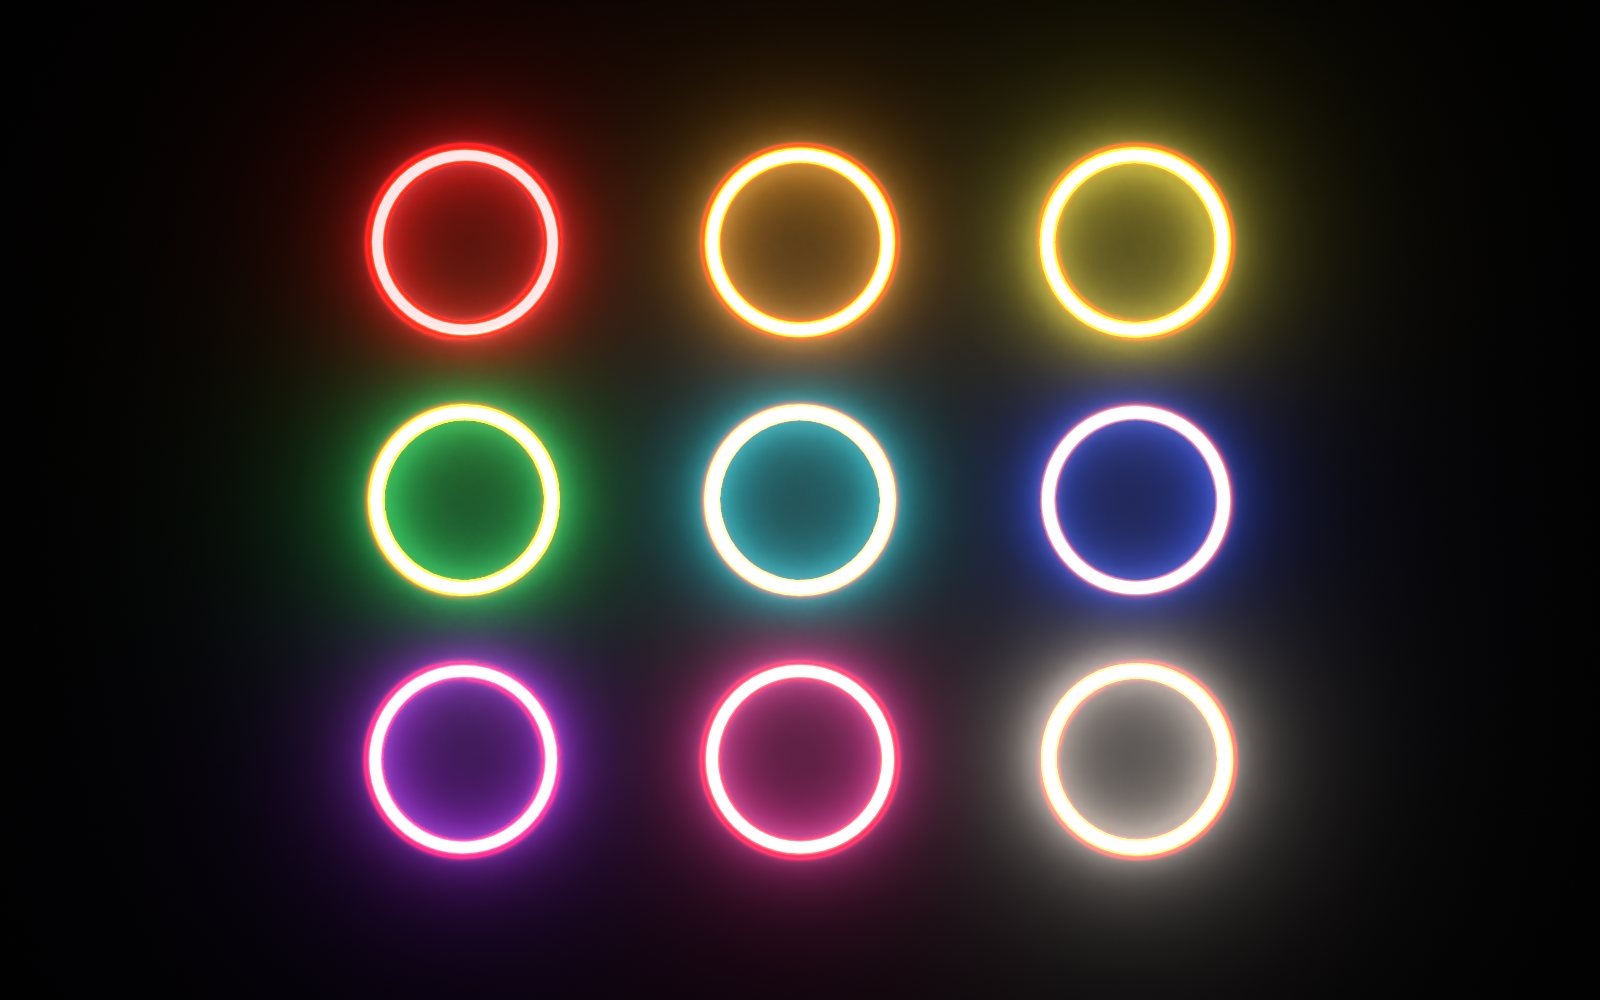
Fig. 2, as a scene. The same ring in nine colours at the same strength. At the Default the warm rings take red-orange edges and blue stays clean; the effect is subtle at this distance, and Fig. 2 shows the full pattern on the chart. A stronger setting is left out here: inside the green, cyan and blue rings, where the glow lands on wall lit by the neon itself, it can still leave a faint speckled band (see Limits).
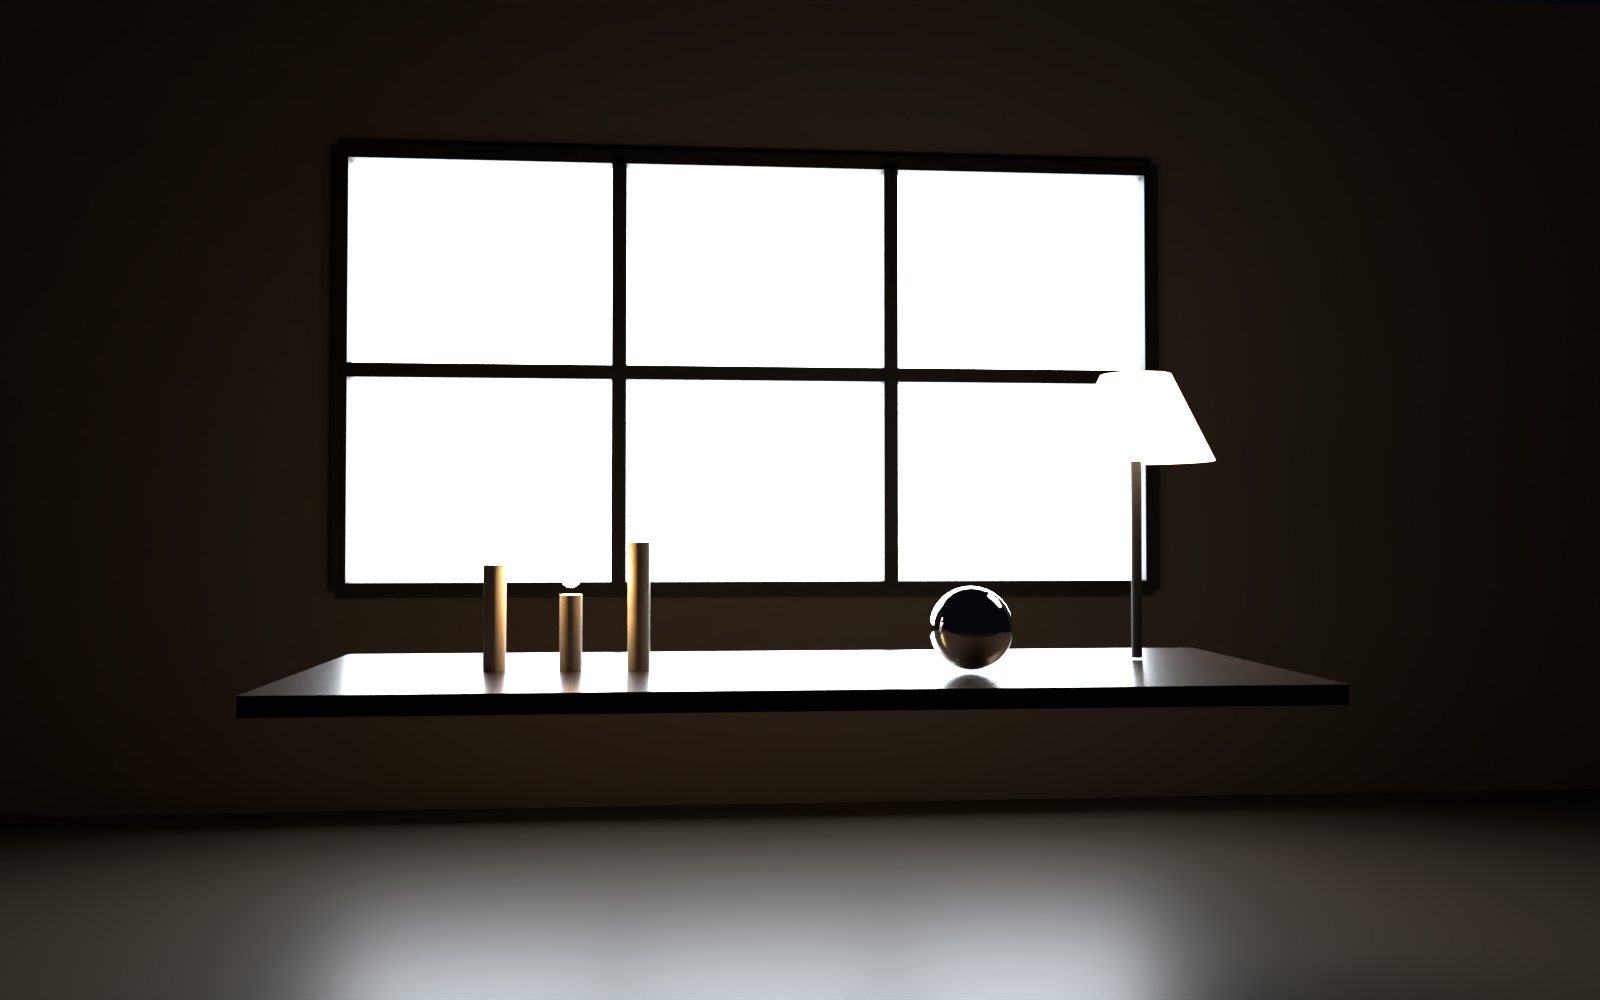
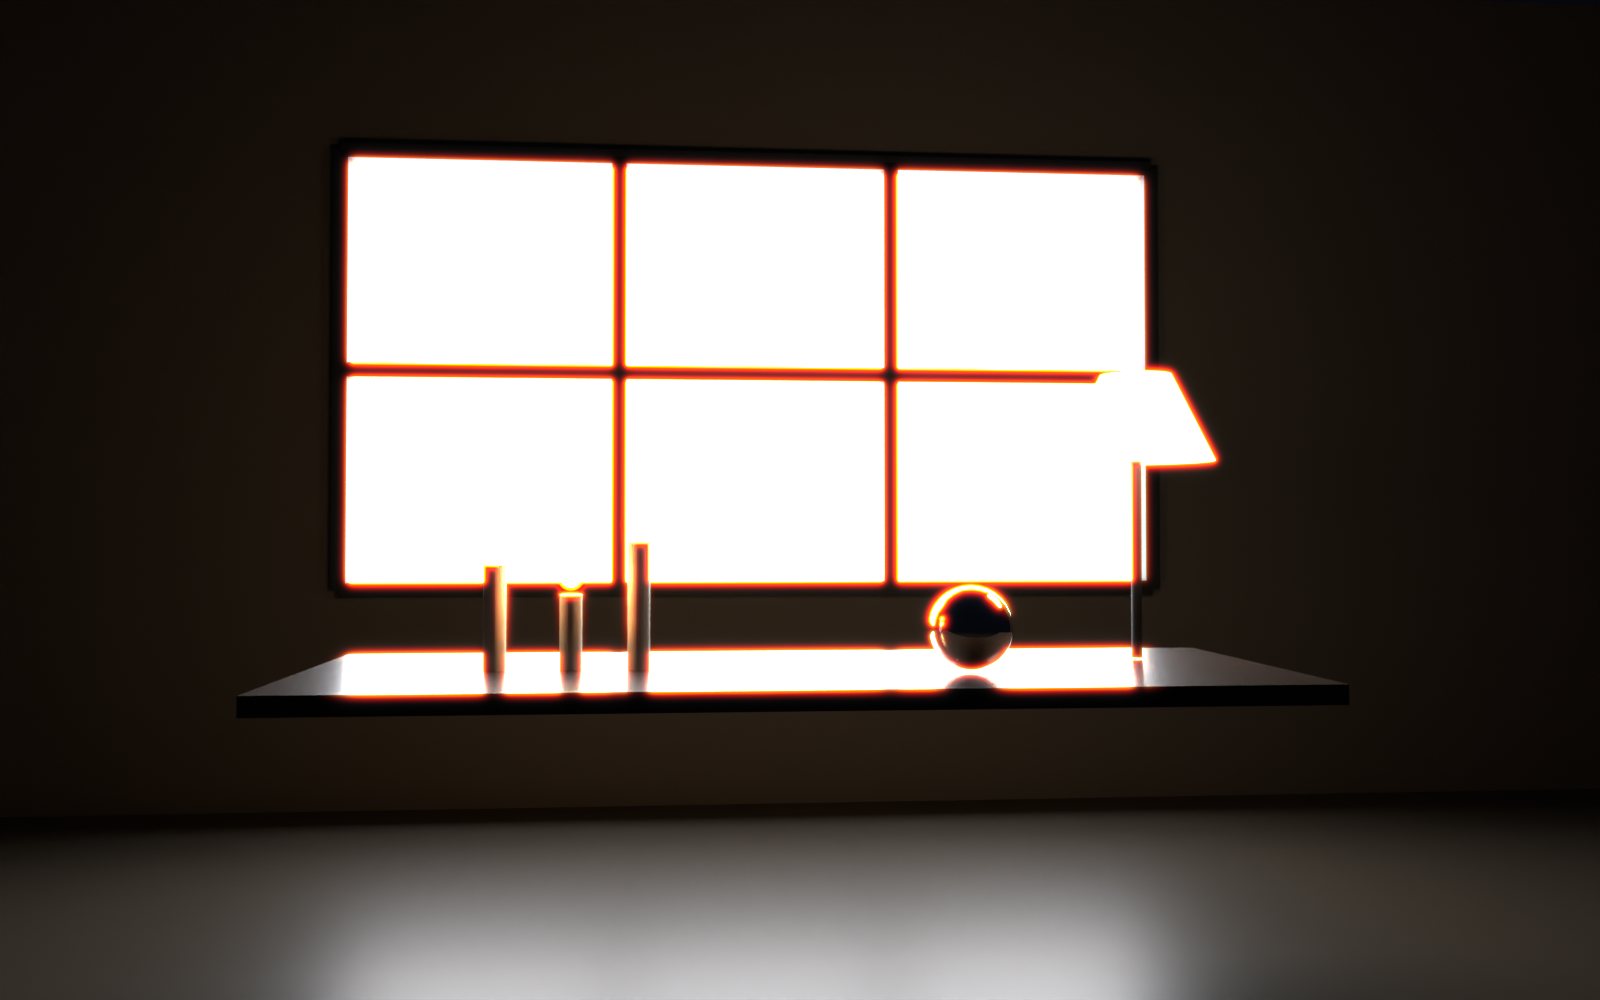
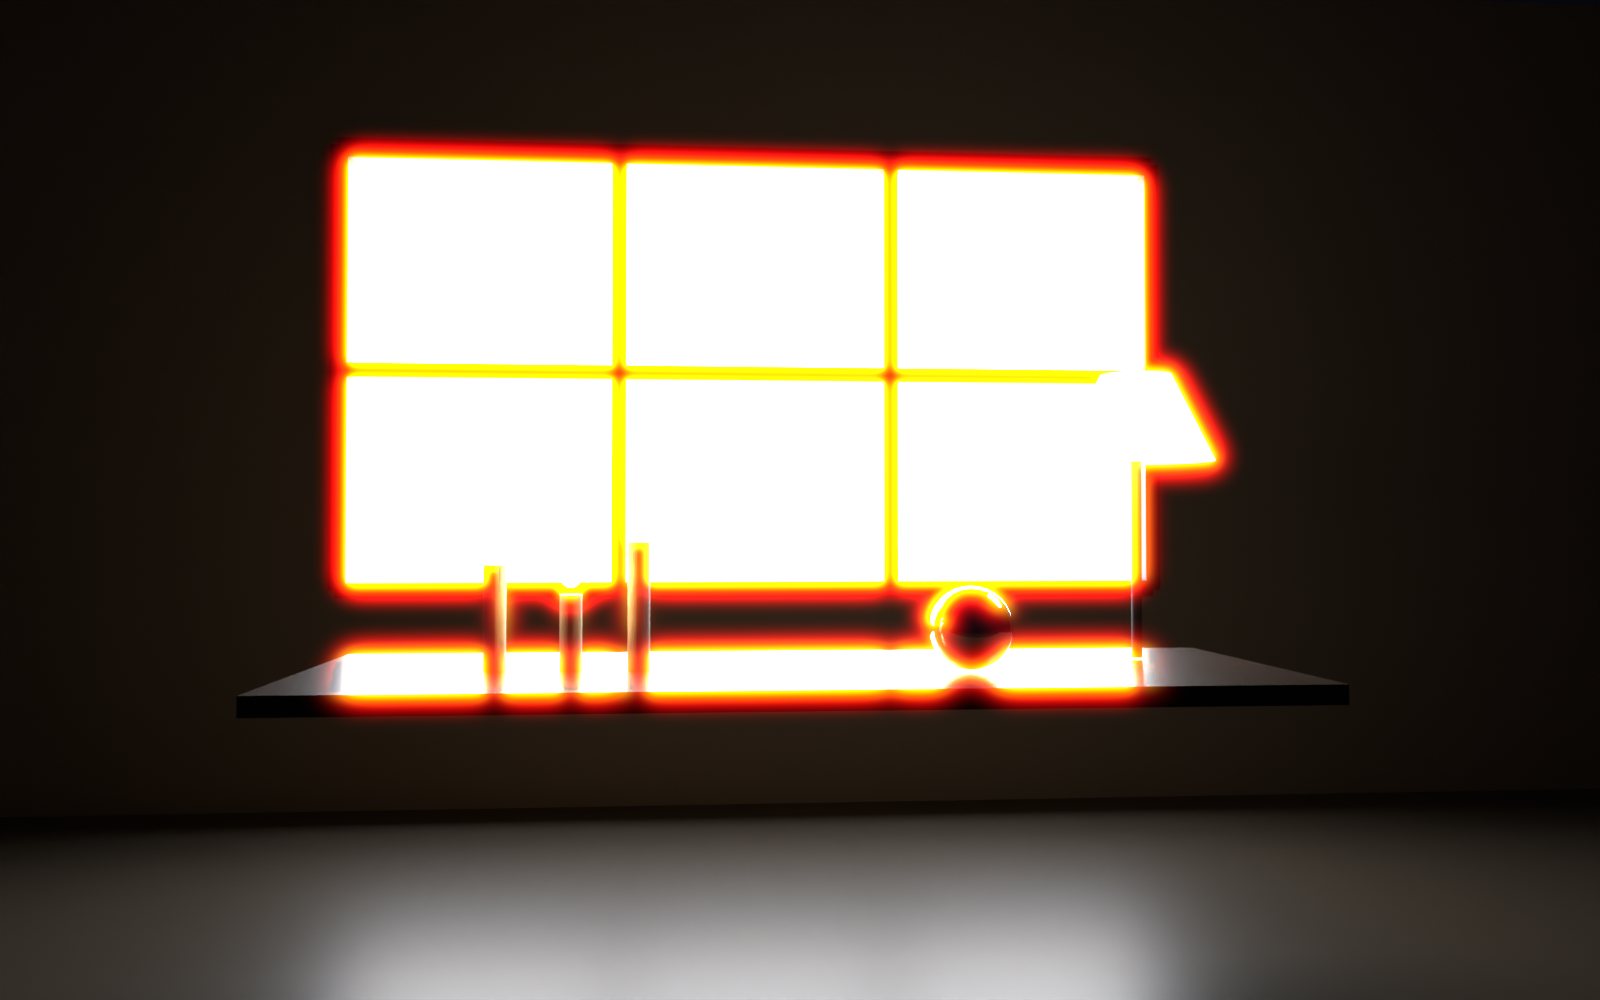
Bright meets dark. The classic case: thin dark glazing bars against a bright sky take red-orange edges, small flames and a specular highlight get their own glow, and the lit wall around them stays clean.
5Photographs
Two digital photographs, exported from Halo Pro 2.2 at its Default look with Mist off. Both are ordinary 8-bit files, so their lights are clipped at white and the glow is set by Starts at, not by the true brightness of the lights. More photographs are being made for this note: neon, tail lights, sodium street lamps, a tungsten interior, a backlit portrait and sun through trees.
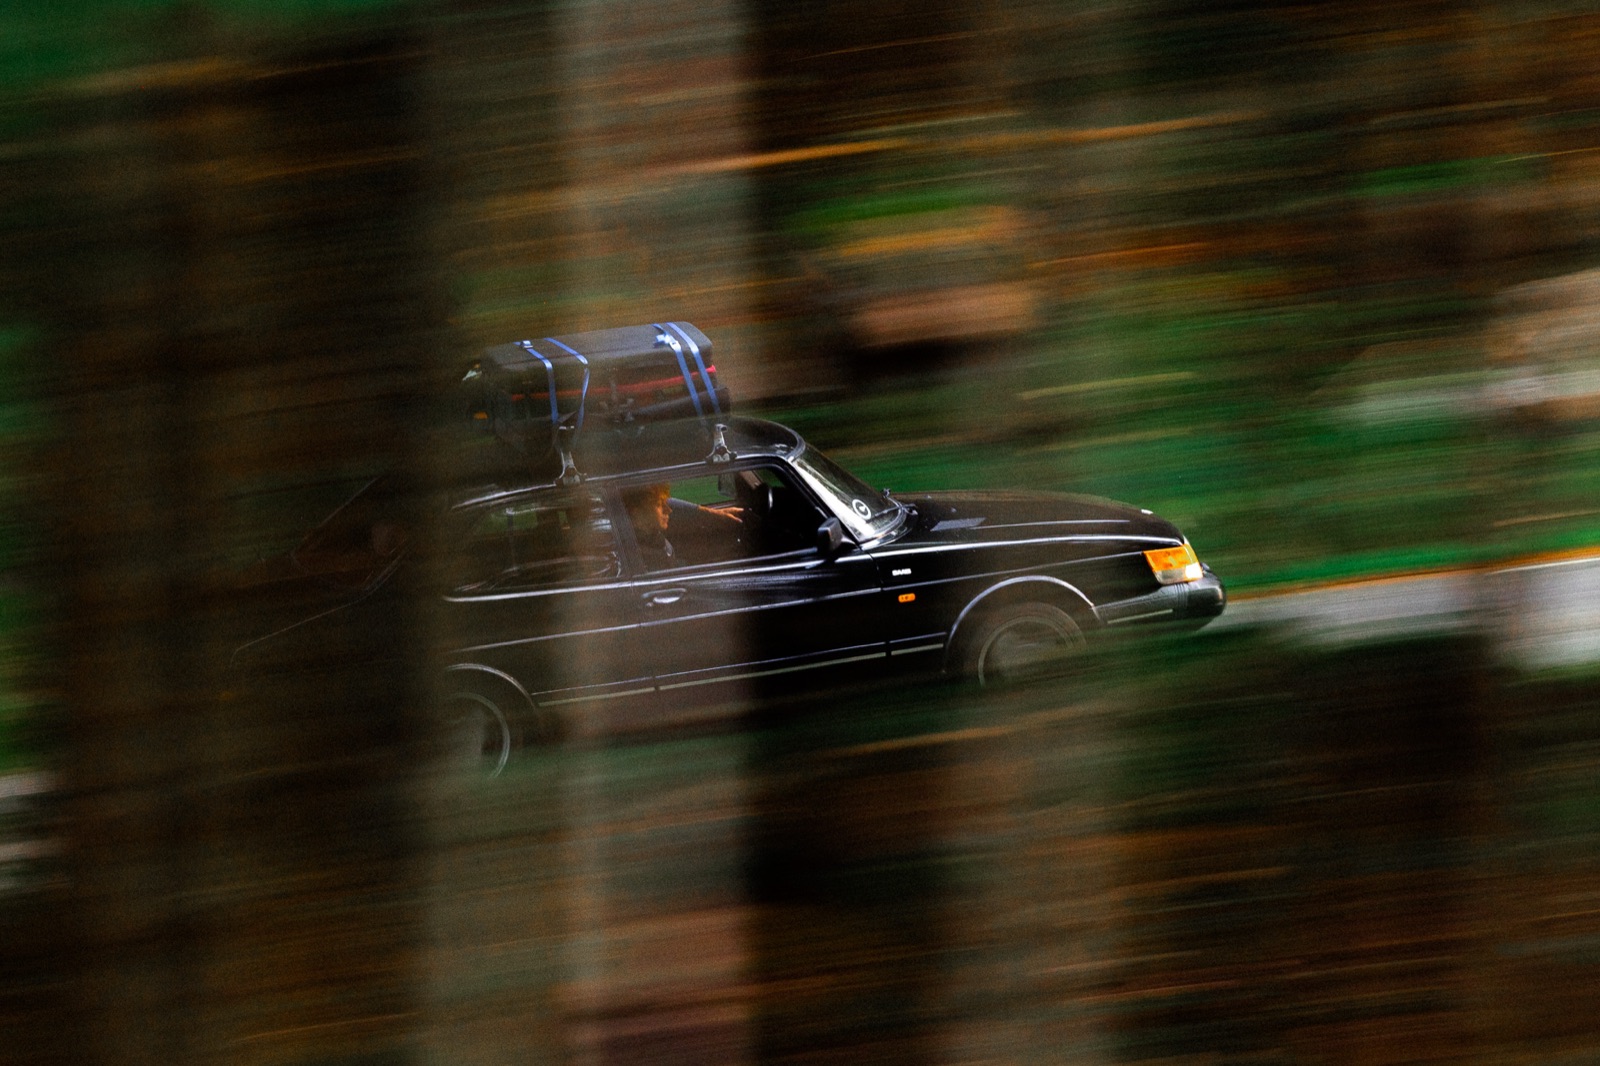
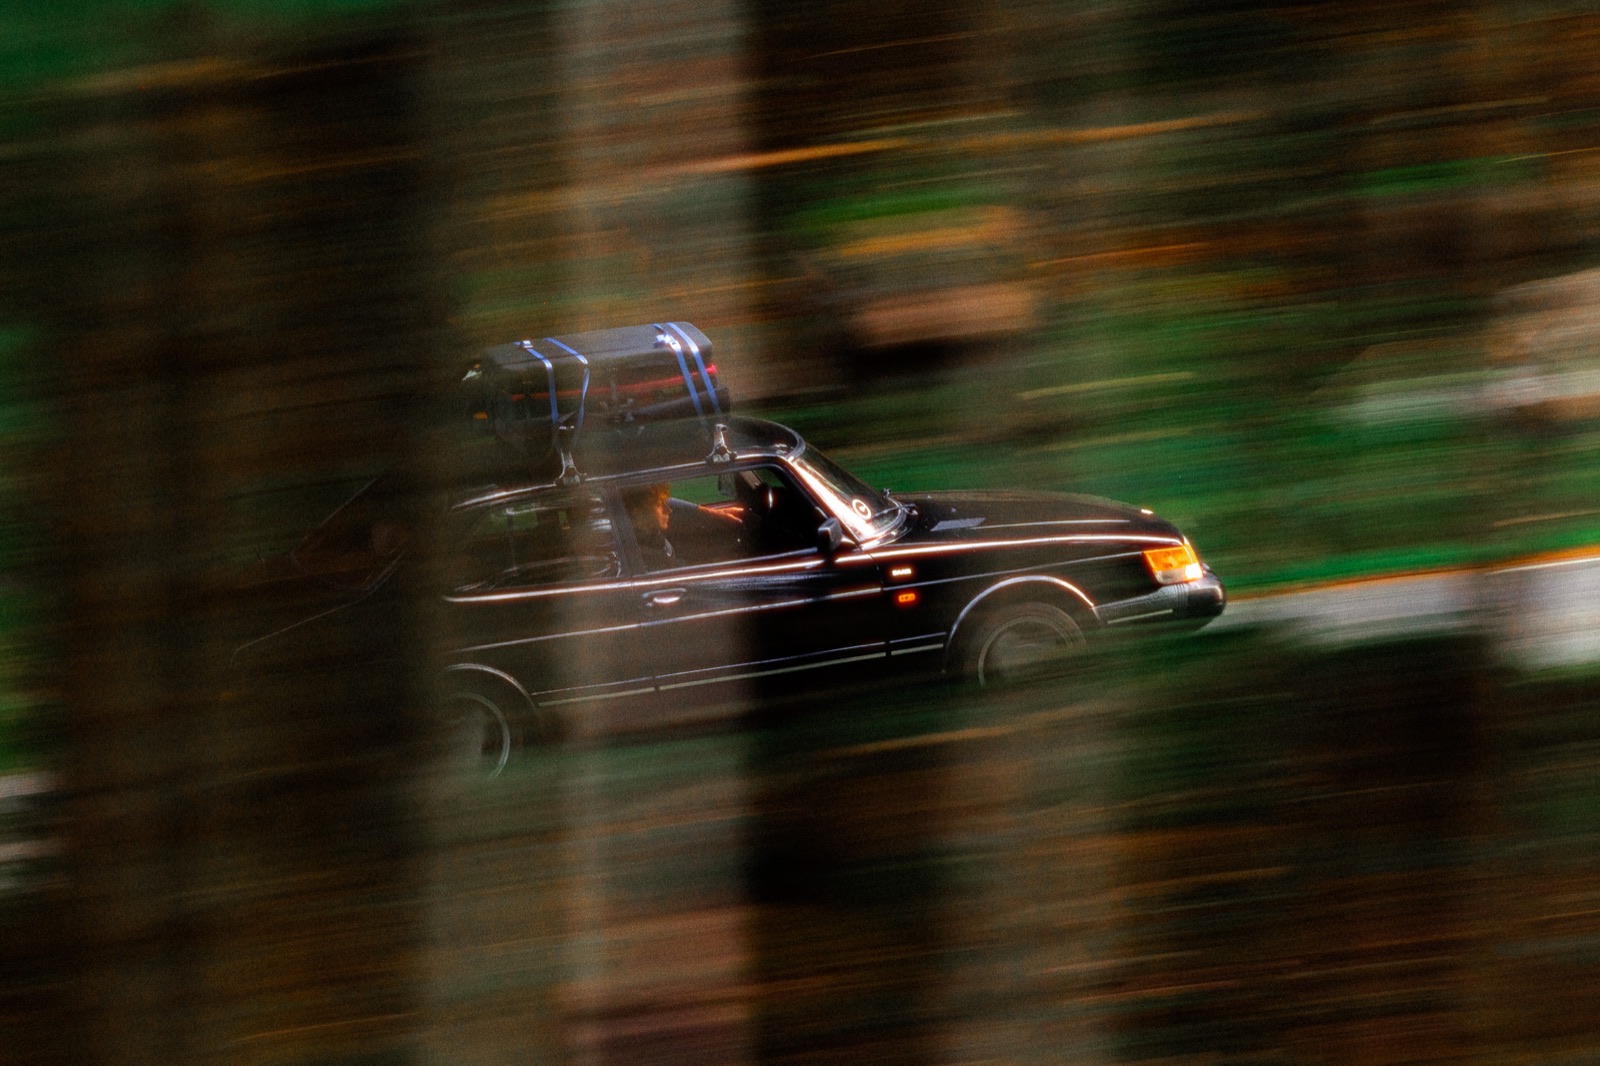
Thin highlights. The chrome trim and the indicator take red-orange edges; the dark paint and the forest stay as they were.
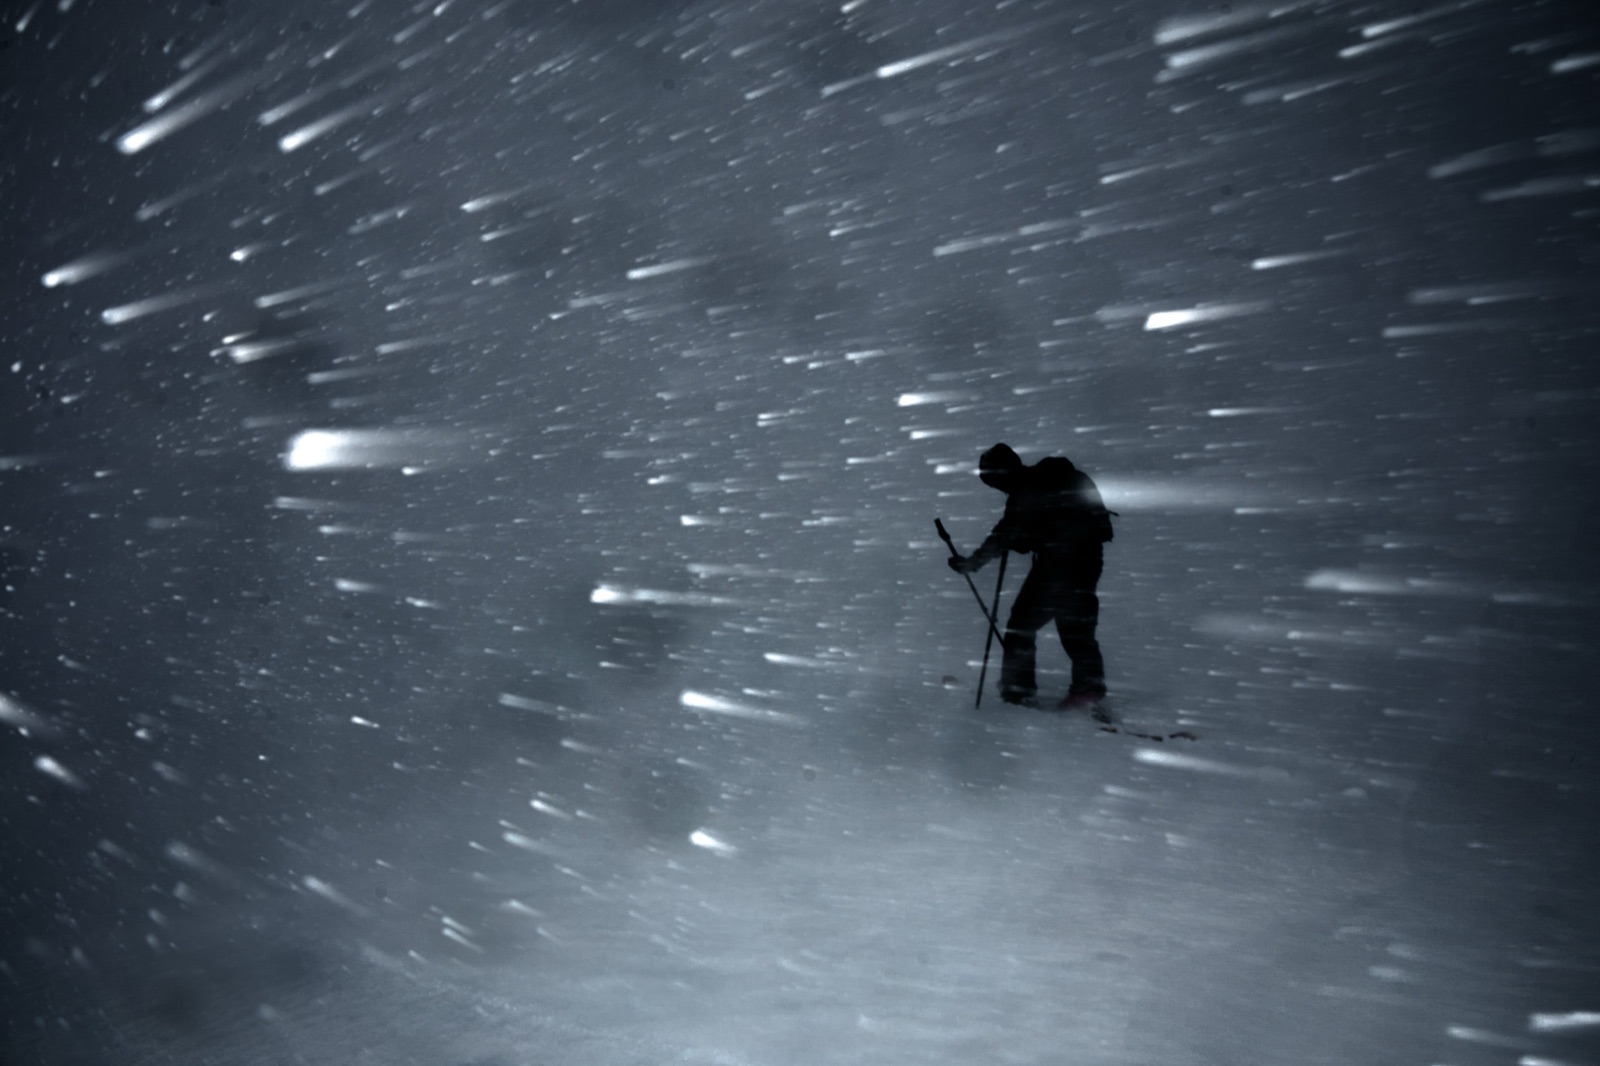
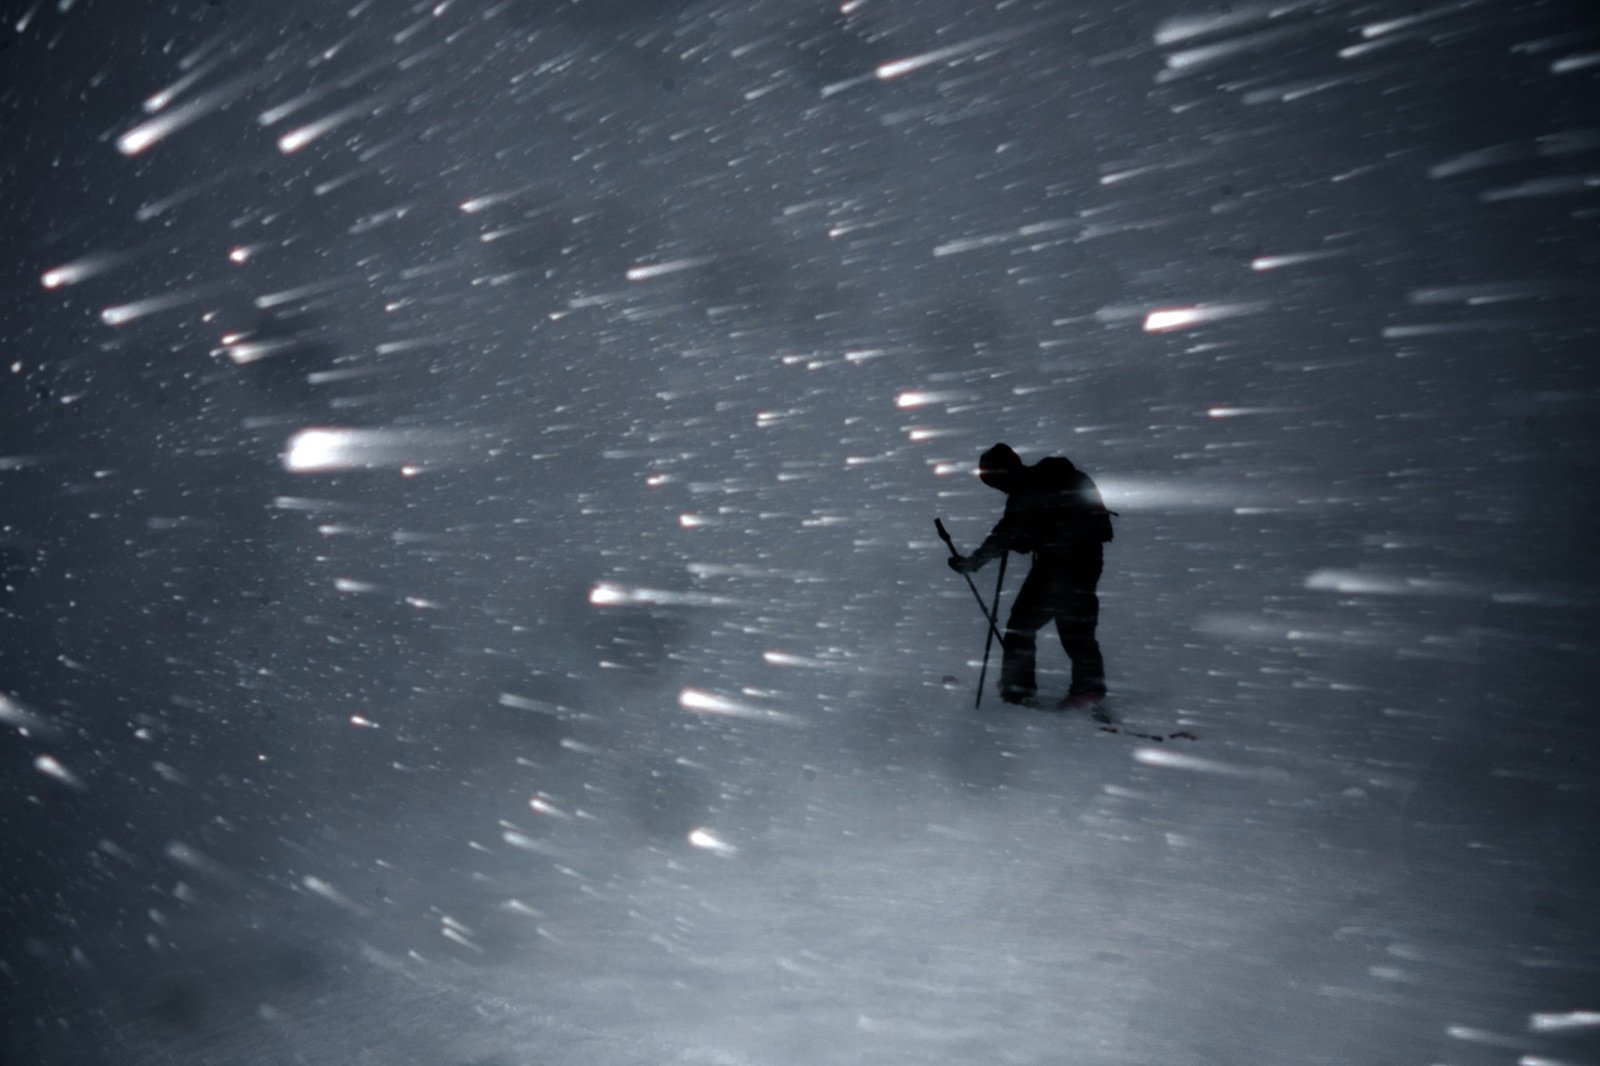
Small, bright, many. Only the brightest flakes reach the start; each gets a faint edge of its own, and the skier, darker than the start, gets none.
6Limits
- No ring yet. The optics predict a ring at a fixed distance around a point of light (about 0.23 mm on 35 mm film), darker inside it. Around anything wider the rings fill in, which is what Halo Pro 2.2 draws (Fig. 5); it does not draw the ring around a pinpoint. A ring is on the roadmap.
- A matched Default. The Default was matched to my own look in an established film-emulation plug-in, not derived from a base thickness (section 2).
- Clipped files. Most photographs are 8- or 16-bit and clip their lights at white, so the glow cannot know how much brighter a lamp was than a white shirt (Fig. 1 shows the difference). Starts at stands in for the lost stops.
- Colour spaces: fixed in 2.3. In 2.2 the glow used the file's own tone curve and its own red, green and blue, so the same scene in sRGB and ProPhoto glowed slightly differently. In 2.3 the glow and the mist look the same whether a photo is saved in sRGB, Display P3, Adobe RGB or ProPhoto RGB, and sRGB photos look exactly as before. Strong Effect, a 1.0 preset, still looks a little different on ProPhoto files: its Exposure, Contrast, Bloom and grain work on the file's own values.
- Self-lit surfaces. Where a strong glow lands on a surface lit by the same coloured light, such as the wall inside a neon ring, 2.2 left square notches and a speckled band along the edge (faintly at the Default). The square notches along the inside of neon rings are gone in 2.3; at strong settings a faint speckled band can still show just inside green, cyan and blue rings, so Fig. 10 leaves its strong setting out.
- Beta. Very fine diagonal stripes (blinds, grilles) can show faint bands in the glow, and very big glows (Size above about 5) can land unevenly on faces and trees.
- Scenes are scenes. The rendered scenes are simple shapes with accurate light, not photographs; they show behaviour, not a finished look.
7References
- Kodak, VISION3 500T 5219/7219 technical data: layer structure and spectral sensitivity.
- Lomography, What is the anti-halation layer?
- Lomography, What is a remjet layer in film?
- Lomography, What is ECN-2 film processing?
- Total internal reflection: Wikipedia.
- Fresnel equations (reflection below the critical angle): Wikipedia.